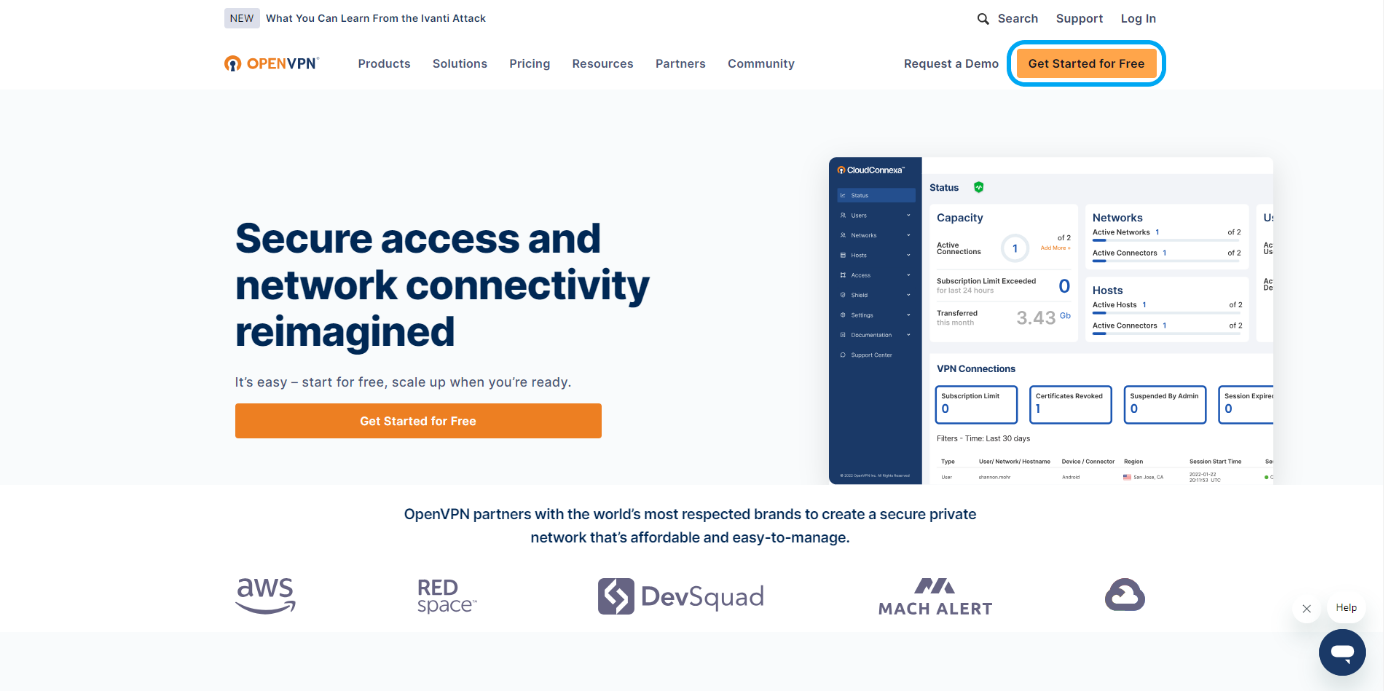
Click the “Get Started For Free” button to create an account.
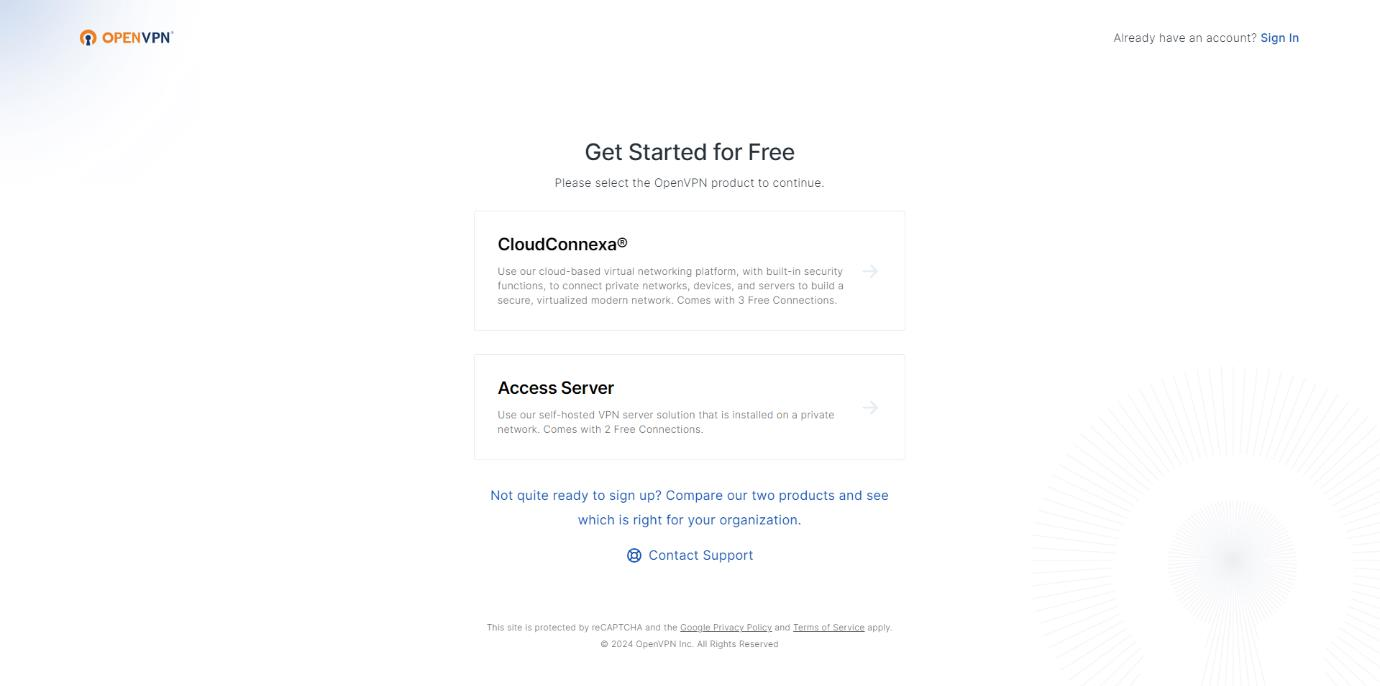
Continue the process by clicking the CloudConnexa button.
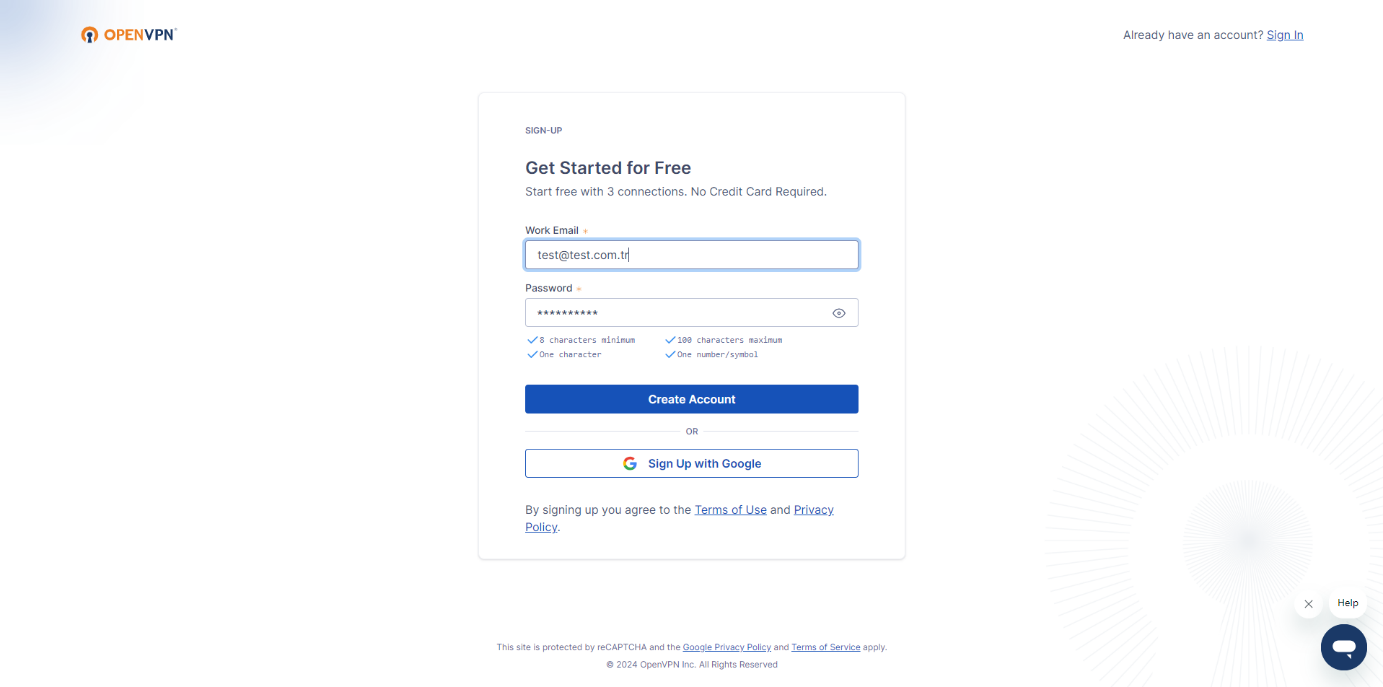
Create an email and password, then click the Create Account button.
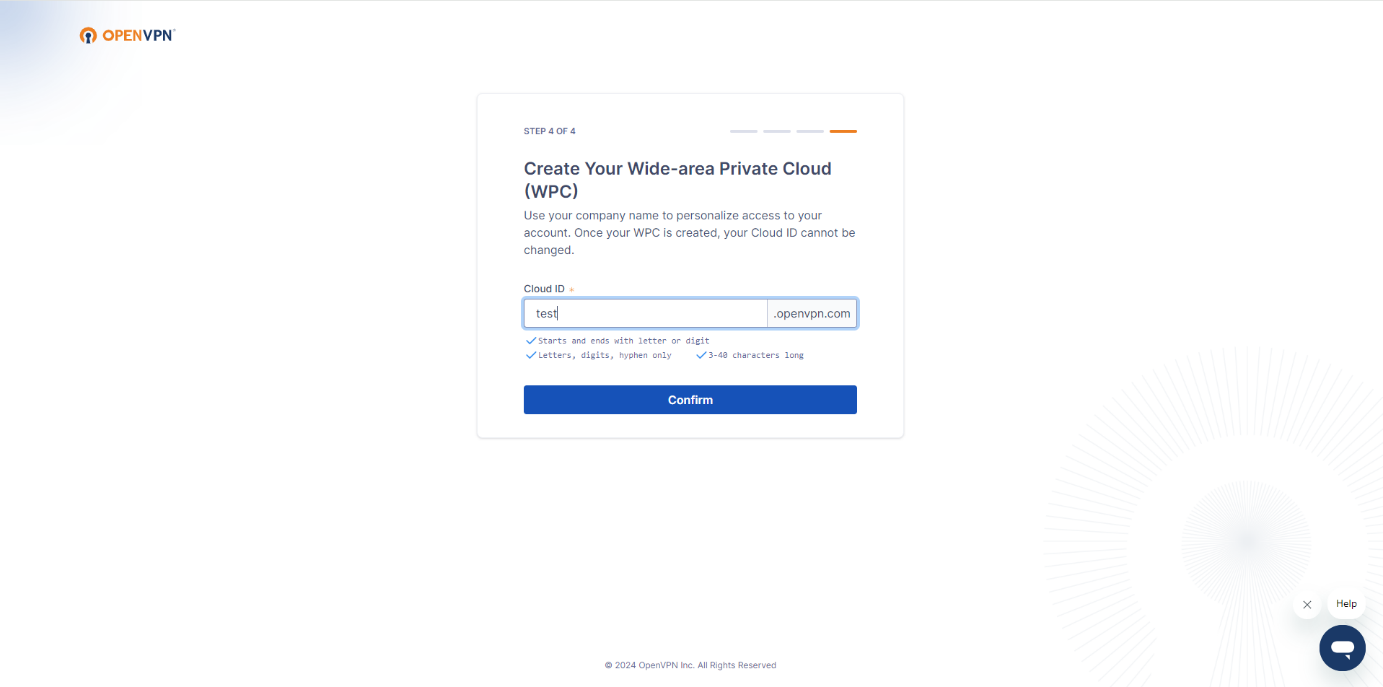
Give a name for the OpenVPN Cloud ID and continue the process.
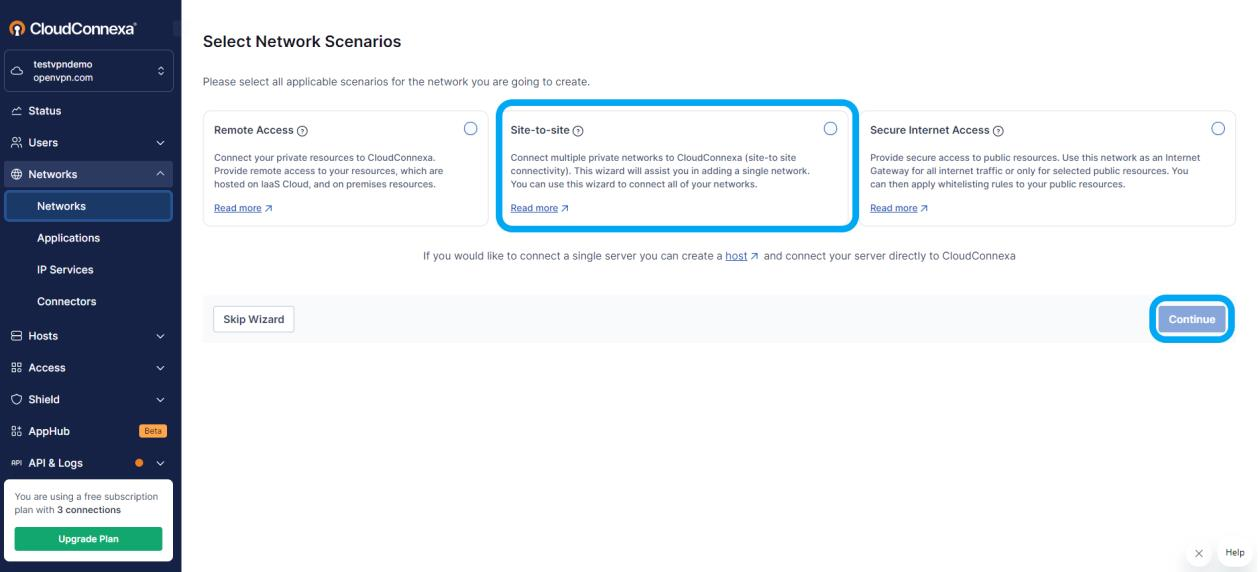
Under the network menu, click the add network button from the network header and select site-to-site connection to continue.
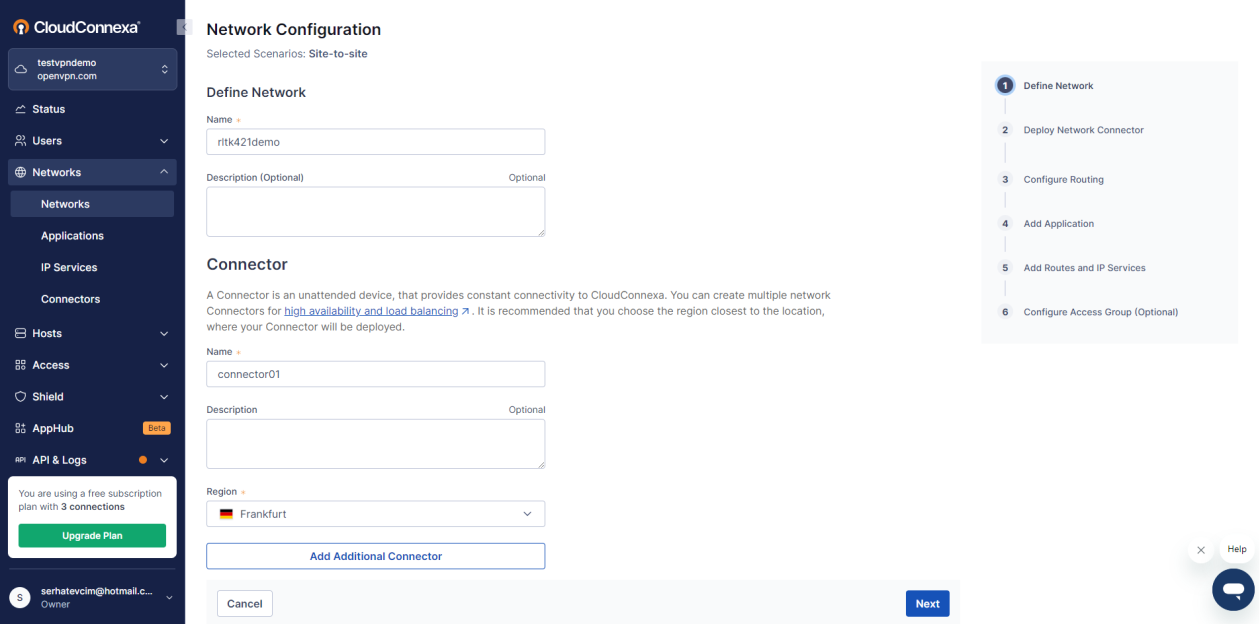
Define a name for the VPN and select a region for the service to continue.
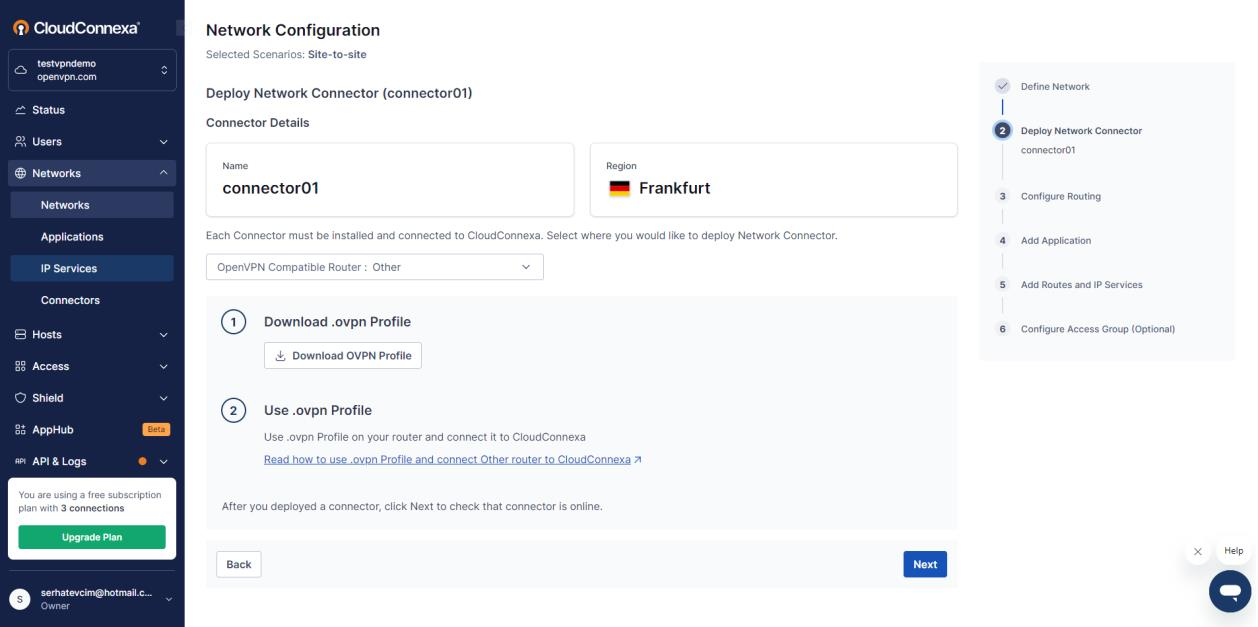
In this section, select the OpenVPN Compatible Router: Other option and download the OVPN file by clicking the Download OVPN Profile button in Section 1. Save the downloaded file as it will be the VPN file to be uploaded to the Router.
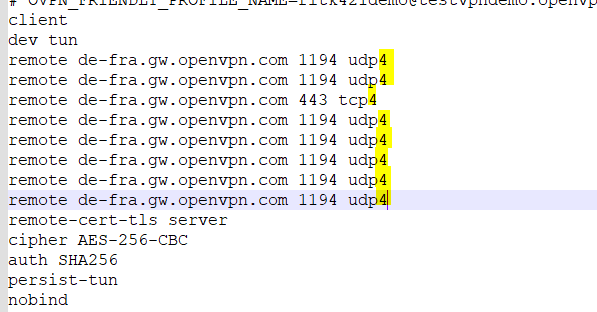
Open the downloaded .ovpn file and add 4 to the end of the marked lines, then save it.
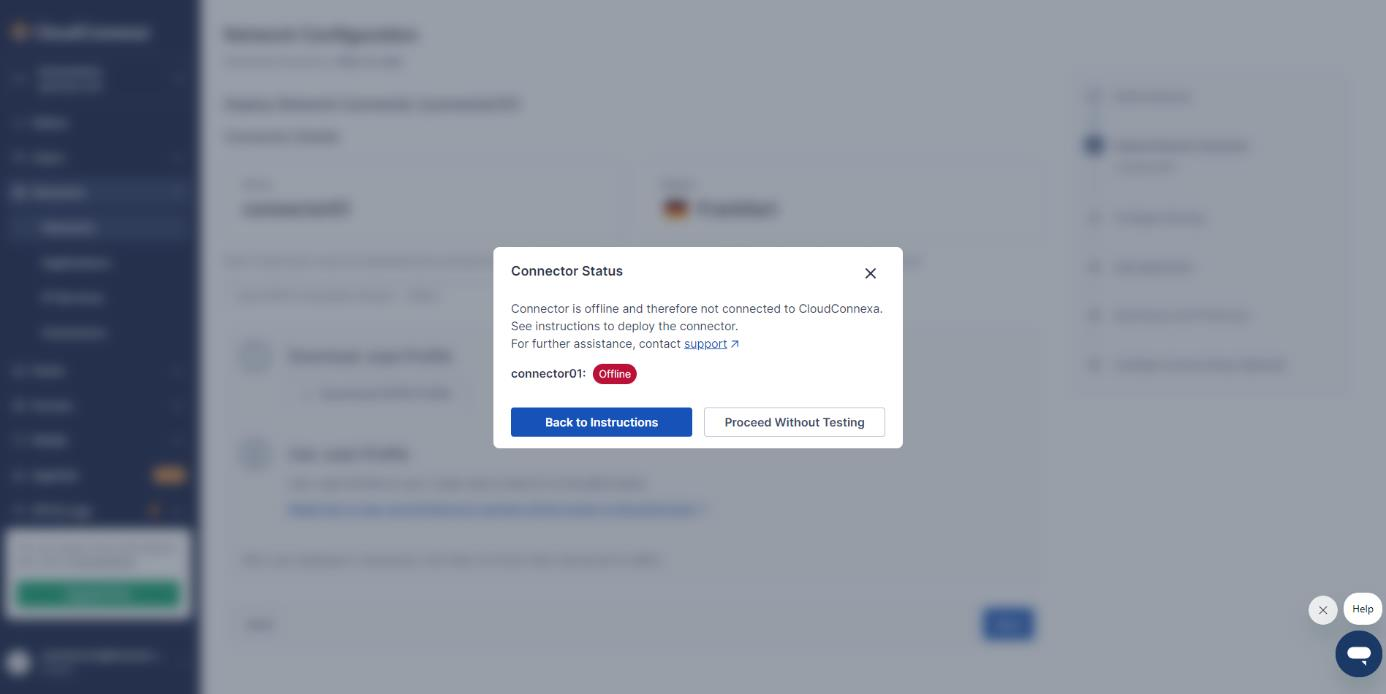
At this stage, proceed with the process by clicking the Proceed Without Testing button as tests will be done later.
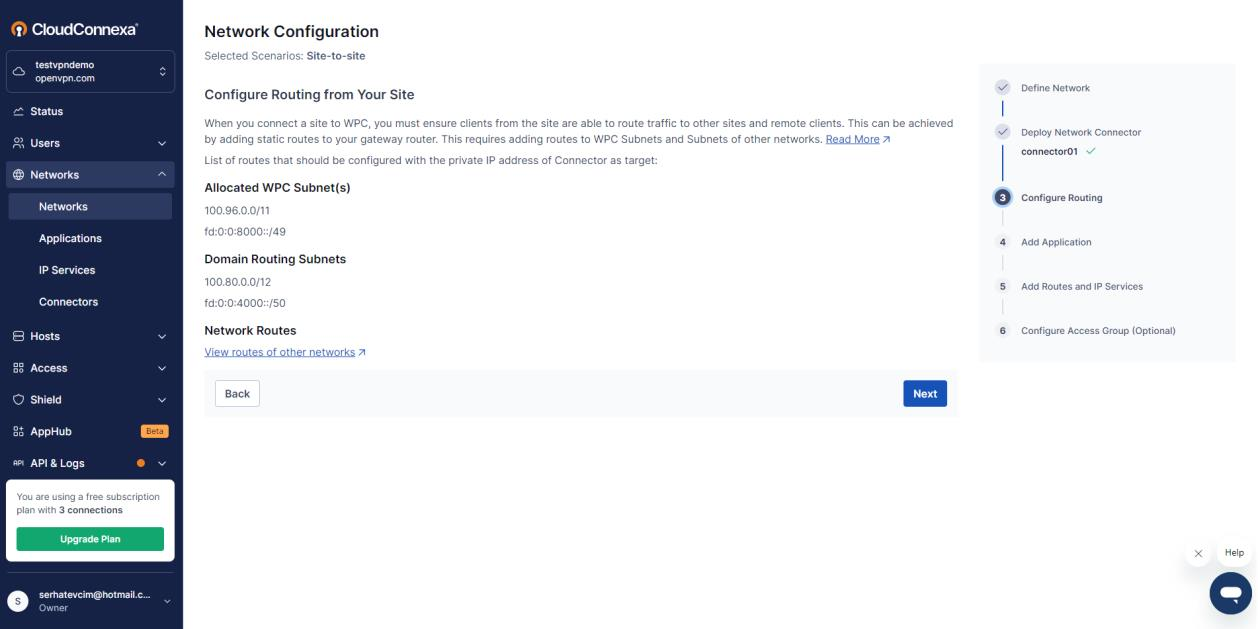
Continue the process by clicking the next button without performing any actions at this stage.
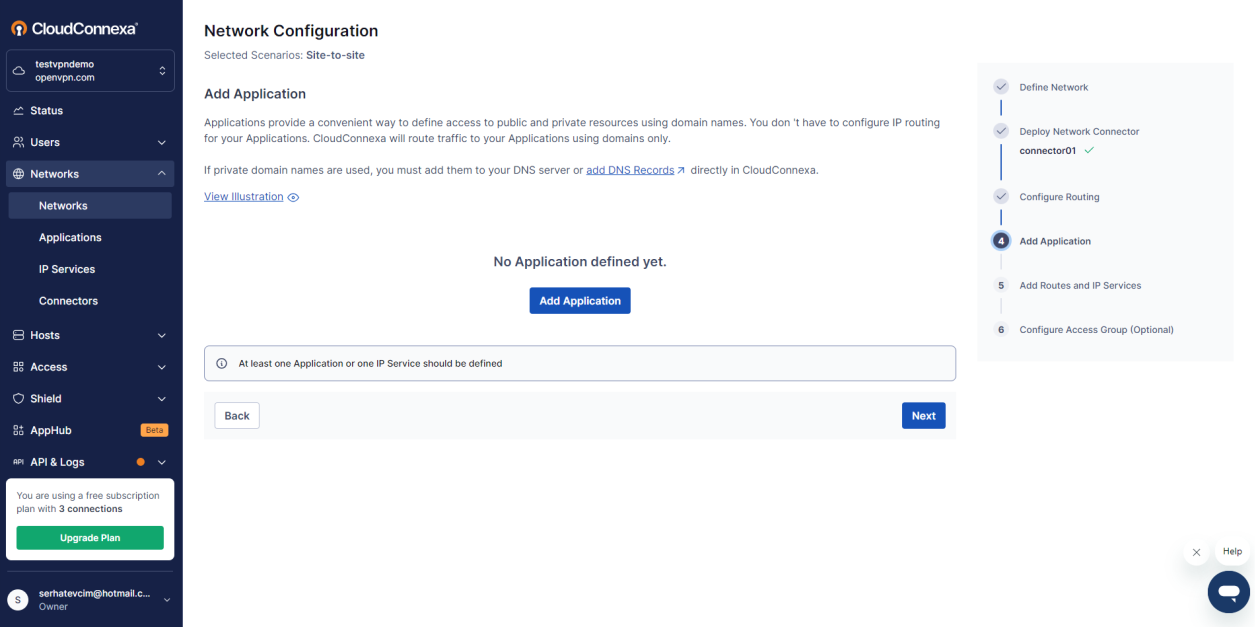
At this stage, click the Add Application button and proceed to the application creation menu.
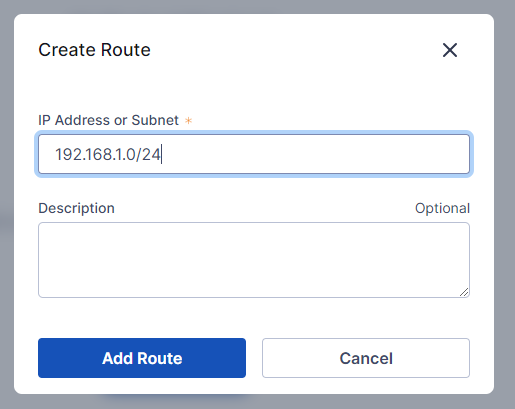
In this section, set the IP block configuration of the LAN interface used by the Router from the Create Router section (default Router 192.168.1.0/24). Click the Add Router button to proceed to the next step.
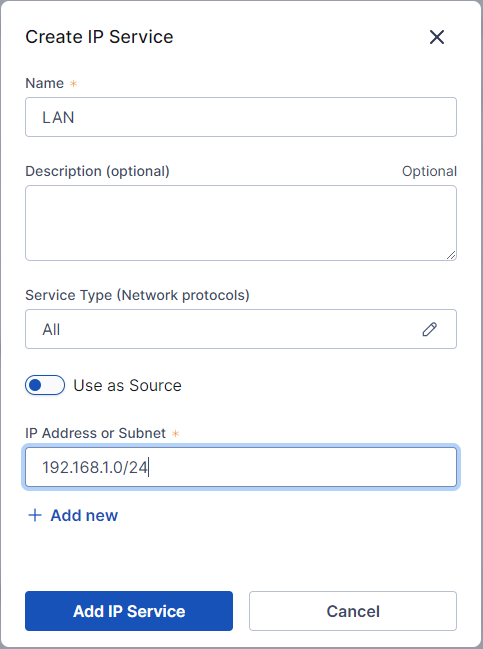
Set the IP block configuration of the LAN interface used by the Router with the Create IP button (default Router 192.168.1.0/24). If the protocol to be used is unknown, select the “All Protocol” option and click the Add IP Service button.
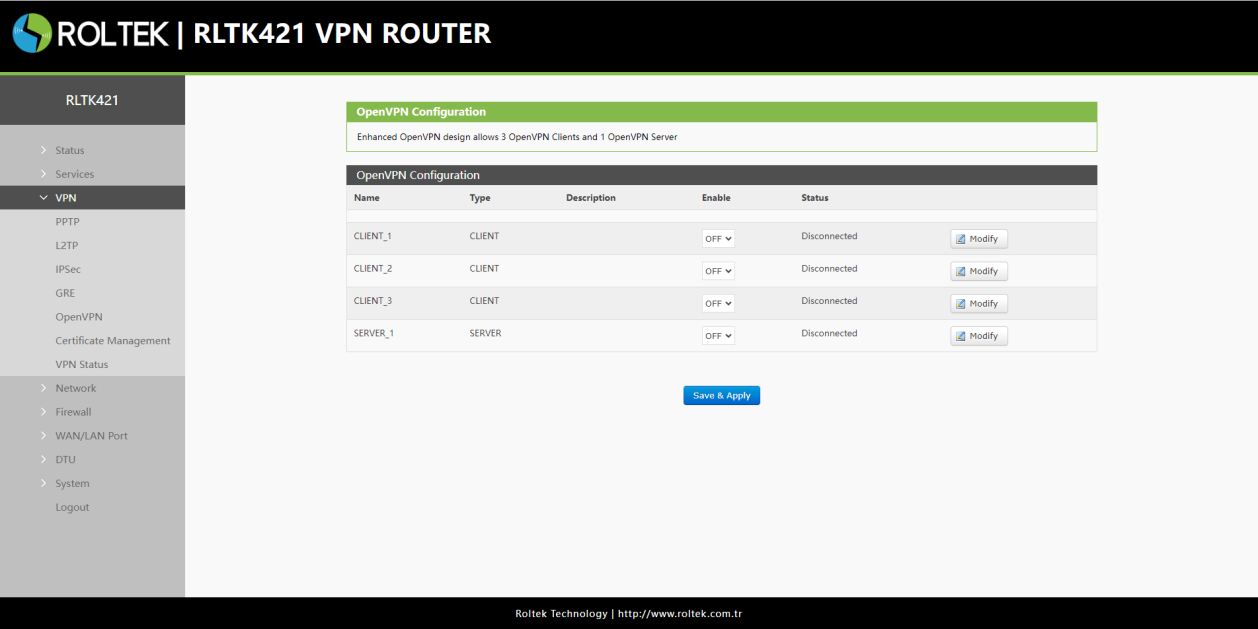
After these operations, access the Router interface and click the OpenVPN button under the VPN menu. Then, as the first preference, click the Modify button in the CLIENT_1 section.
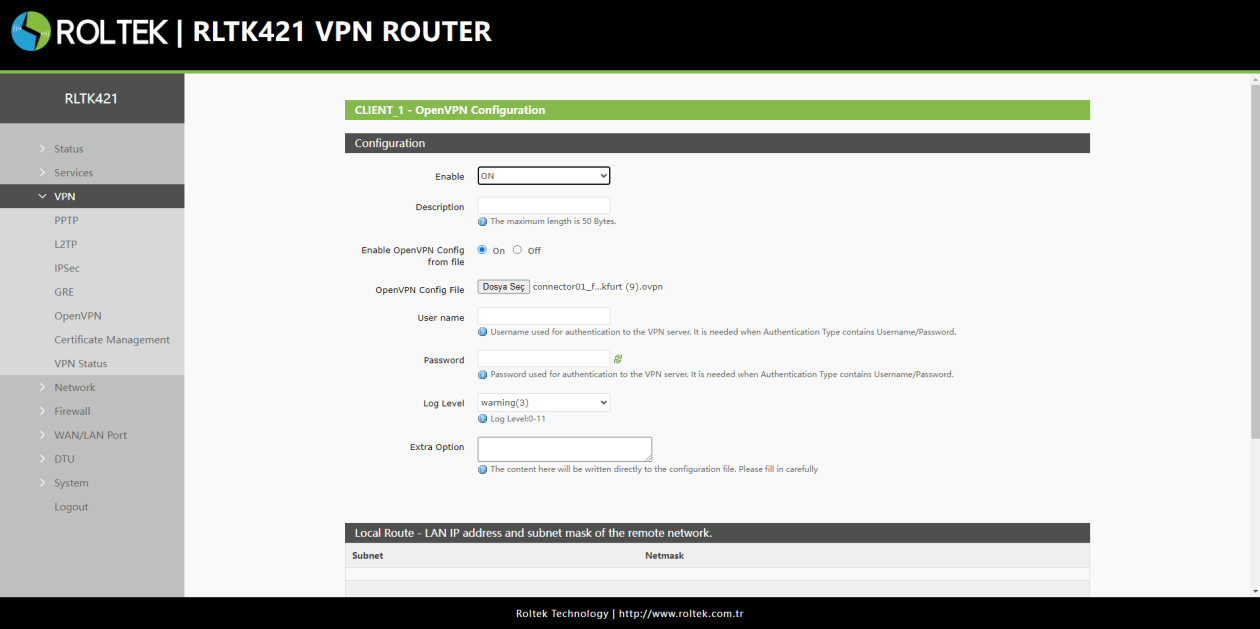
In this section, set the Enable section to ON and the Enable OpenVPN Config From File section to ON, then add the VPN file downloaded in Section 7 from the file selection section and save the settings by clicking the Save & Apply button.
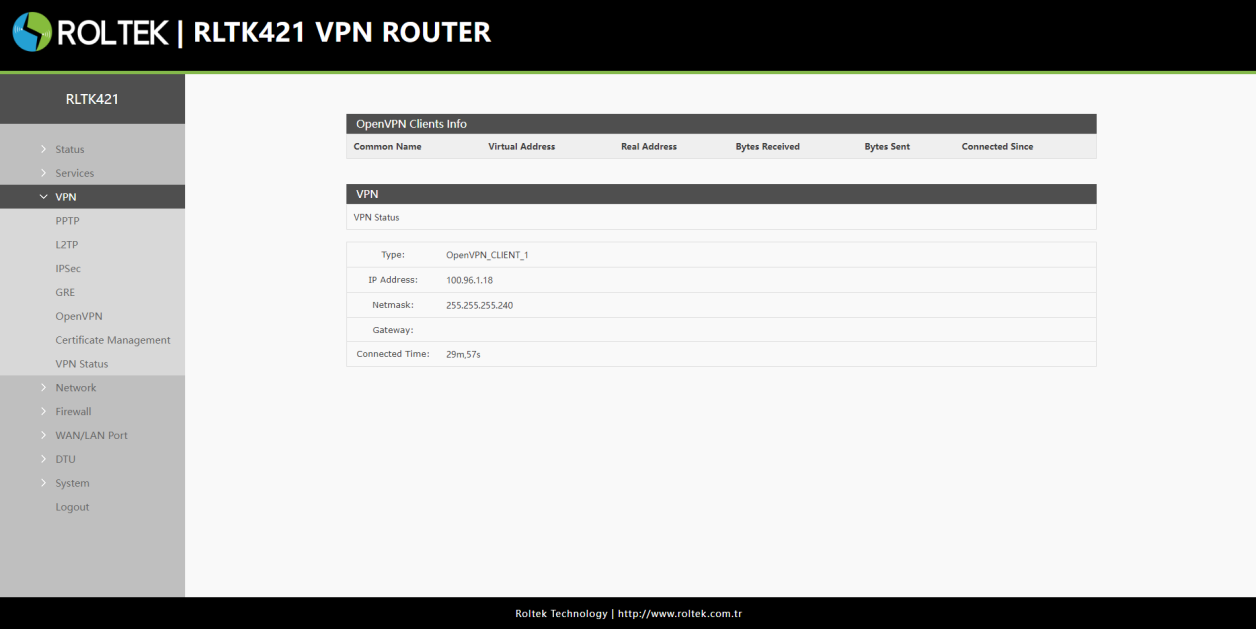
In this section, test the VPN connection by pressing the VPN Status tab under the VPN menu. The connection status, connection duration, and address of the VPN can be seen at this stage.
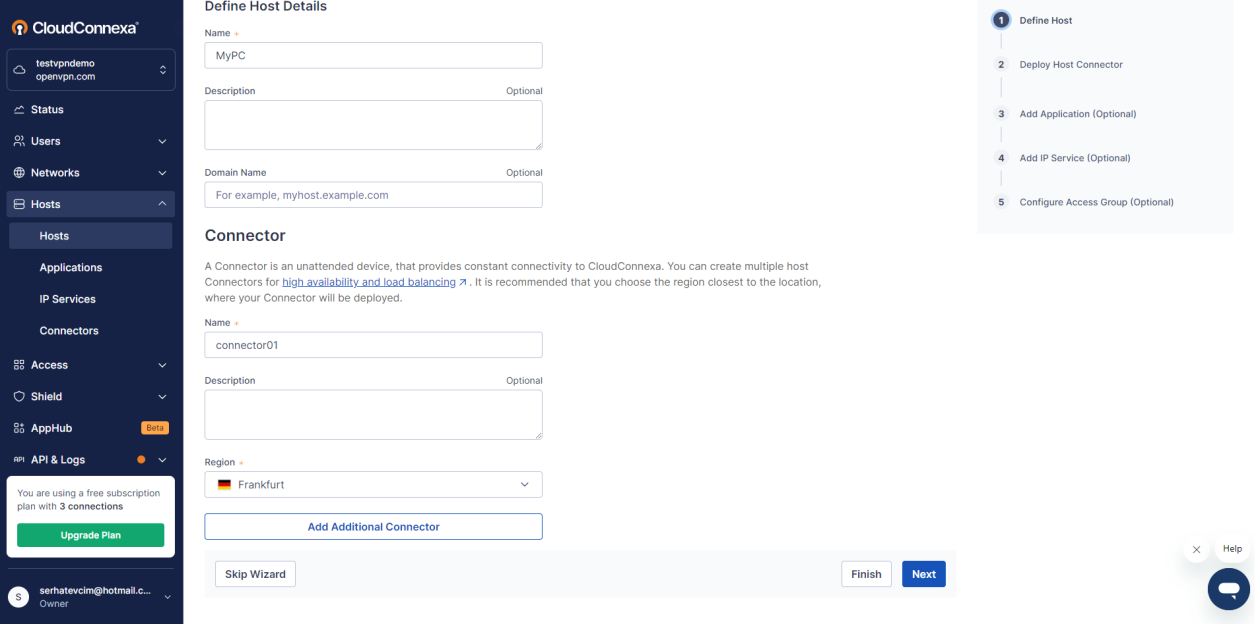
In this section, create a Host for the computer. Under the Host menu, create a new Host from the Host section. Define the Name and region, then continue by clicking the next button.
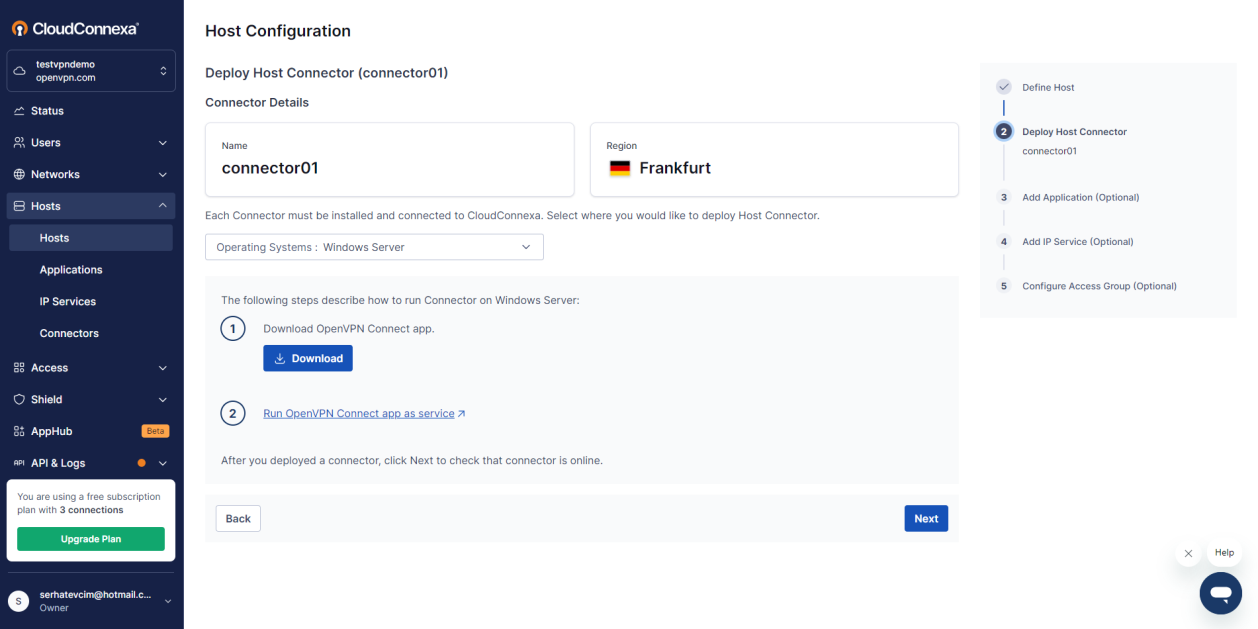
In this section, click the Windows Server option for the Windows operating system and download the OpenVPN Connect App software that will run on Windows computers from Section 1.
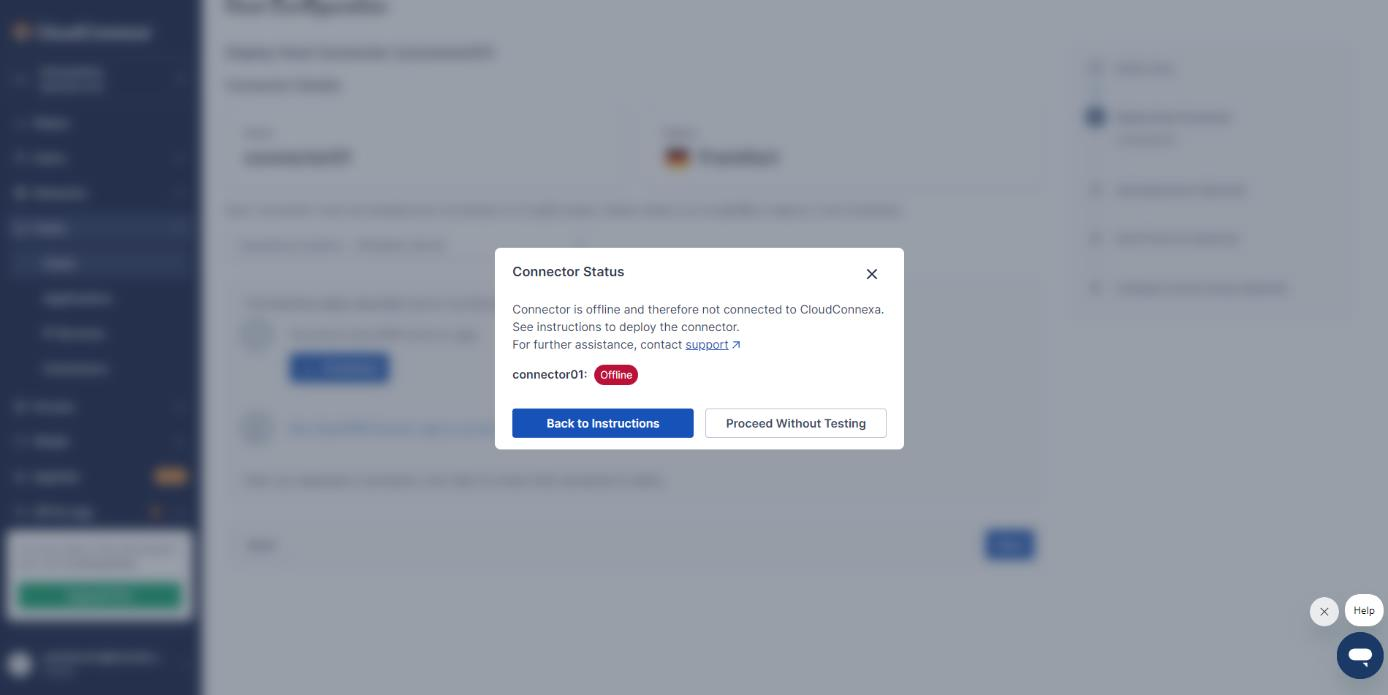
In this section, continue with the Proceed Without Testing button as the testing will be done later.
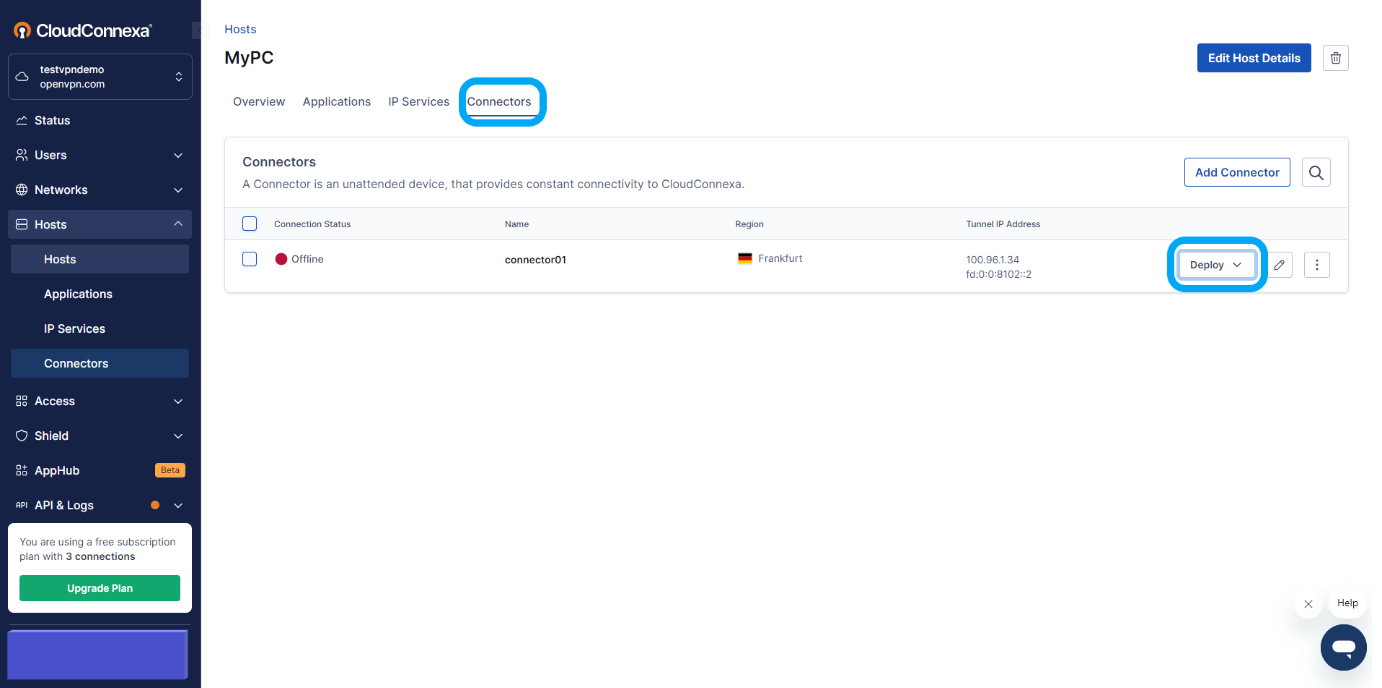
After all operations are completed, click the Deploy button under the Connectors header and then click the Download profile in .ovpn format button to download the VPN file. This file will be used for the connection of our computer.
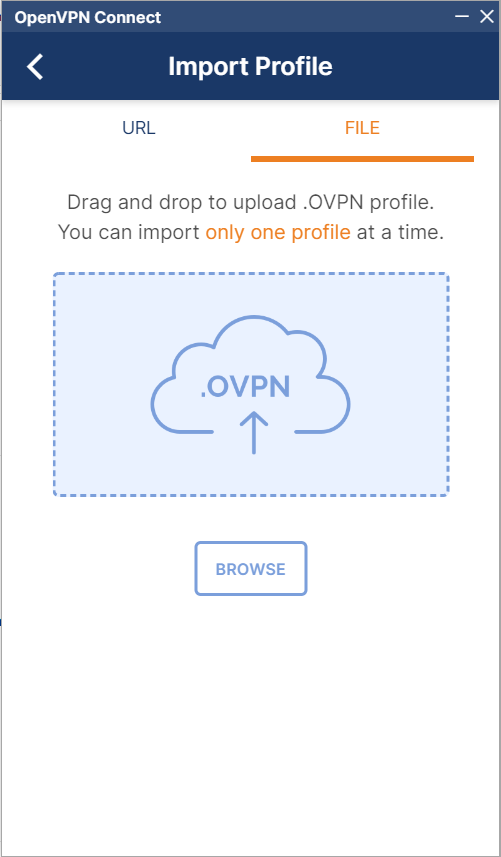
In this section, run the OpenVPN Connect App software downloaded in Section 17, install it, and then in the opened program, select the file in the import profile tab and press the connect button. Then our computer will connect to the VPN network.
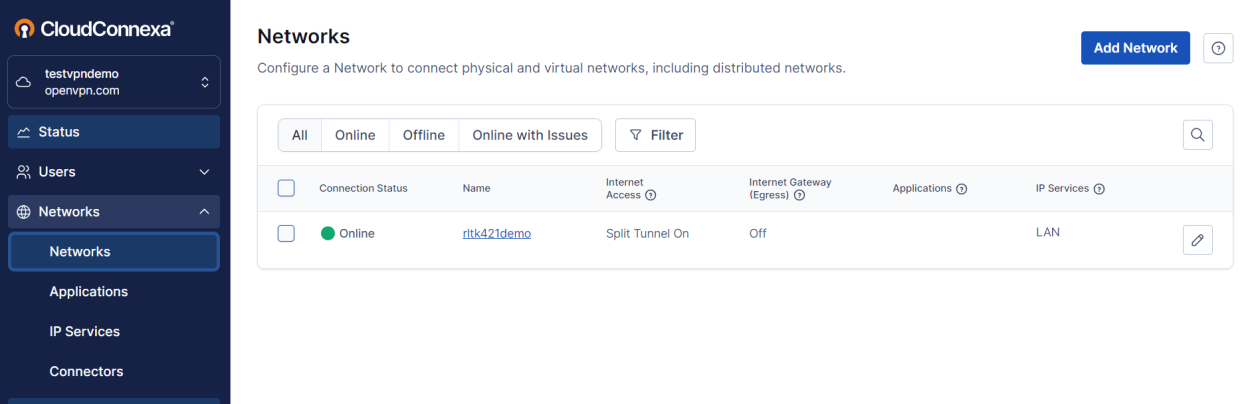
The device should be visible online under the network menu on the Cloudconnexa site.
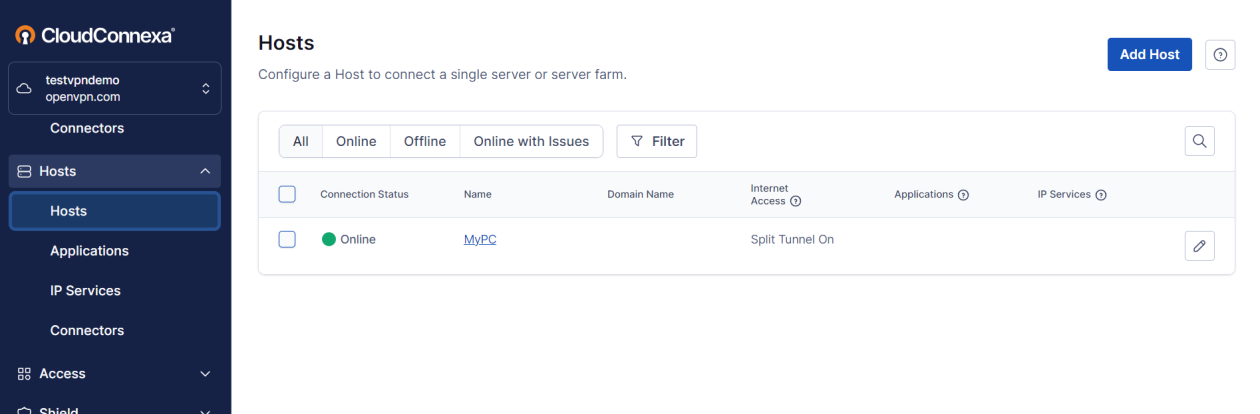
Our computer should be visible online under the host menu on the Cloudconnexa site.
In this case, our computer and router can operate on the same network. It can be tested by accessing the Router interface or pinging devices connected to the router.